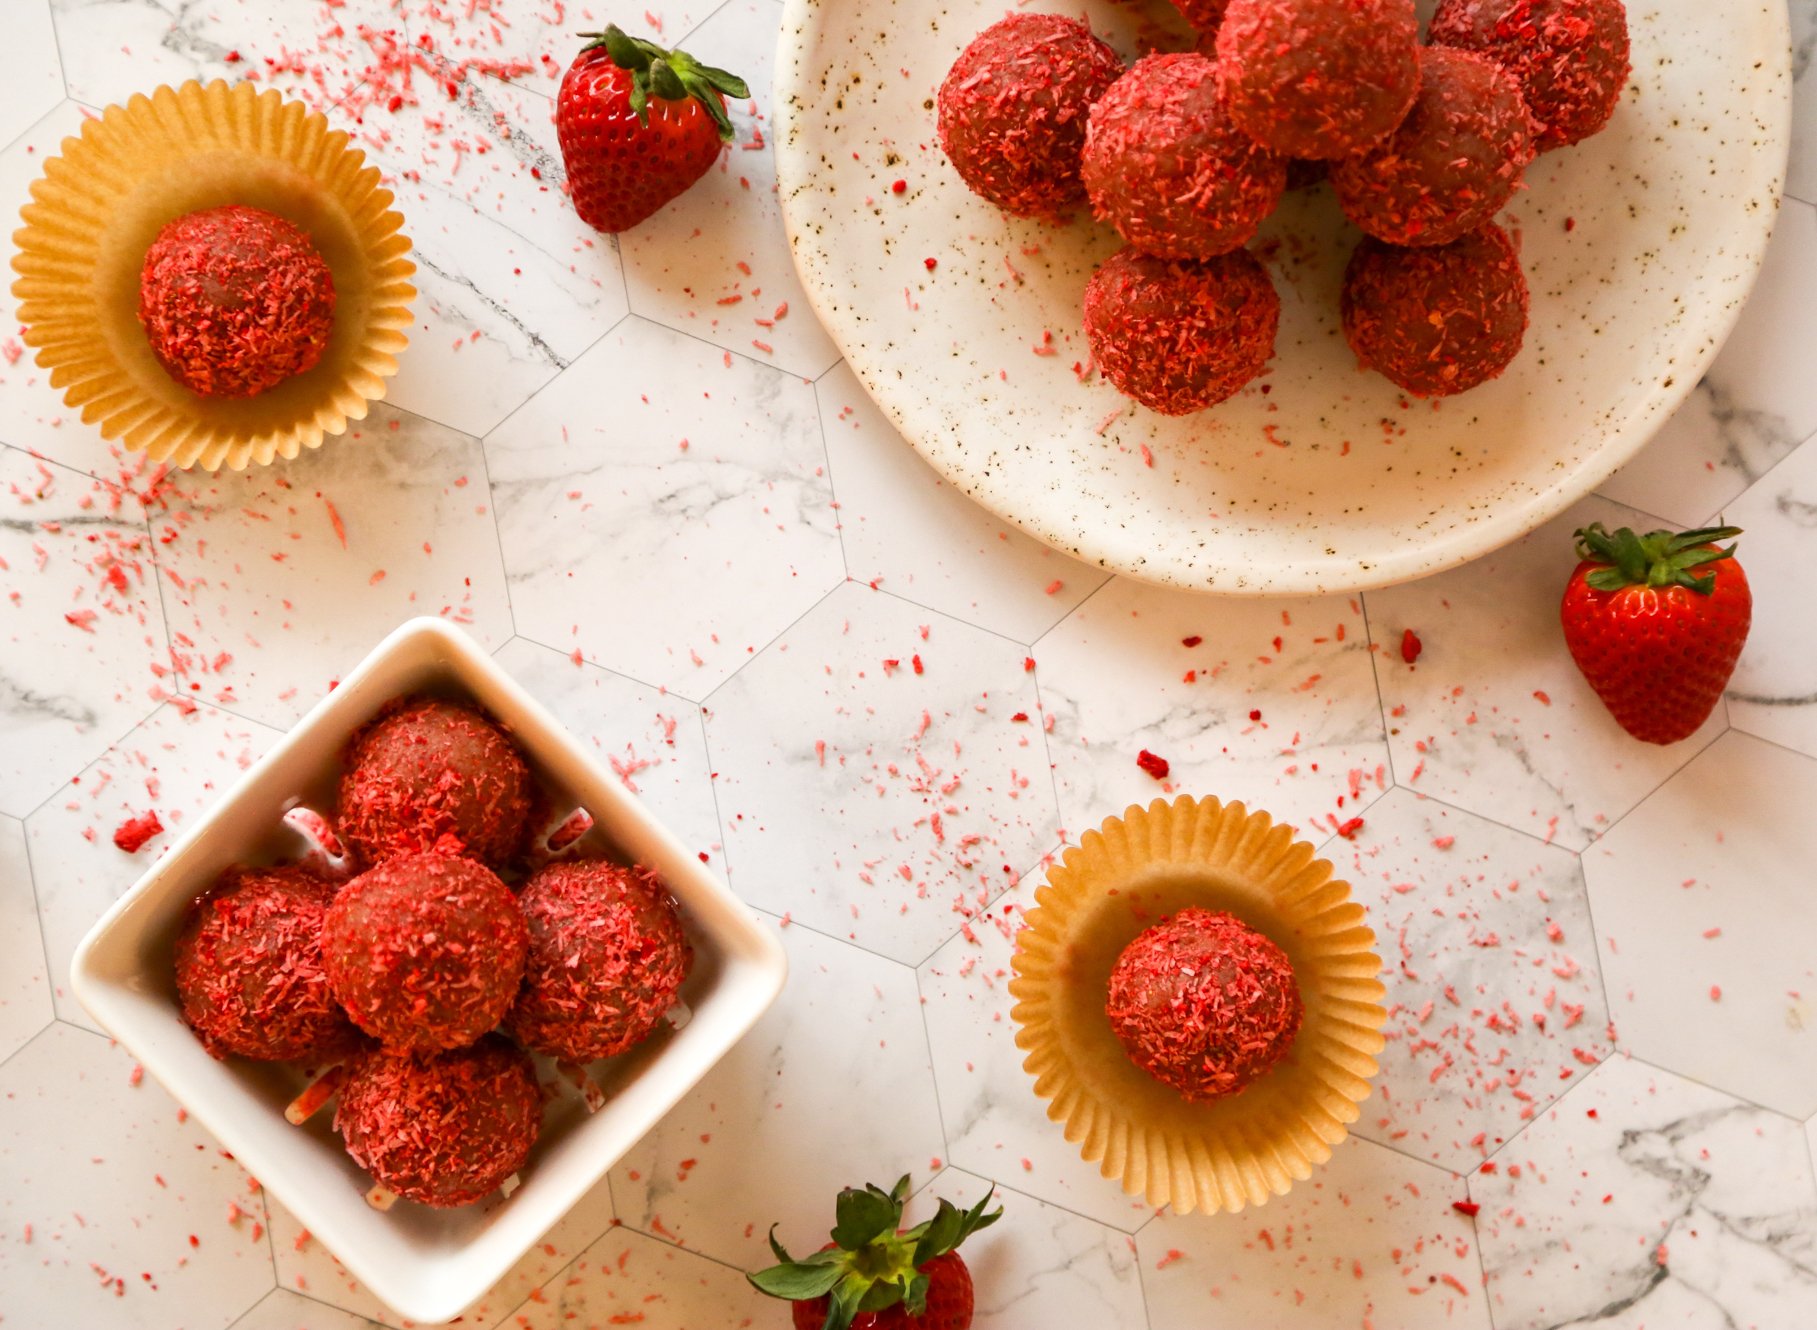
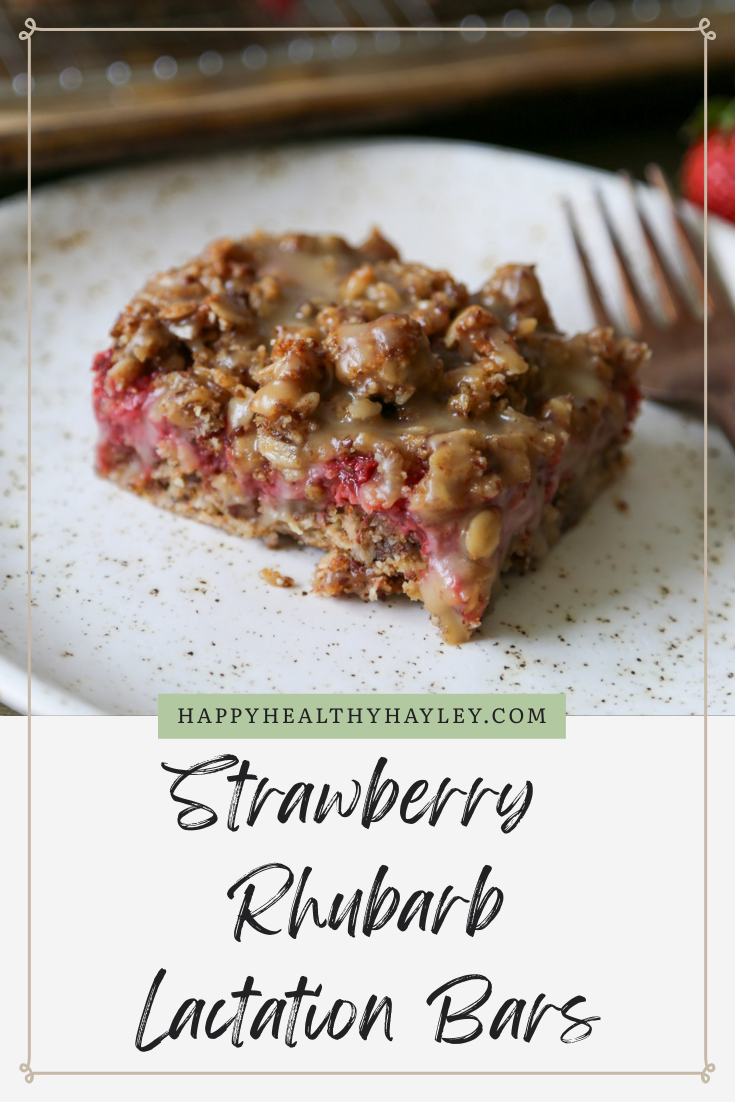
If you’re a new mom, you’ve likely found that breastfeeding is a journey filled with ups and downs. Whether you’re struggling with supply or feeling like a pro, every mom’s experience is unique. One way to help maximize milk production is through nutrition, and that’s where these Strawberry Rhubarb Lactation Bars come in. They’re simple to make and packed with ingredients that can support your breastfeeding goals.
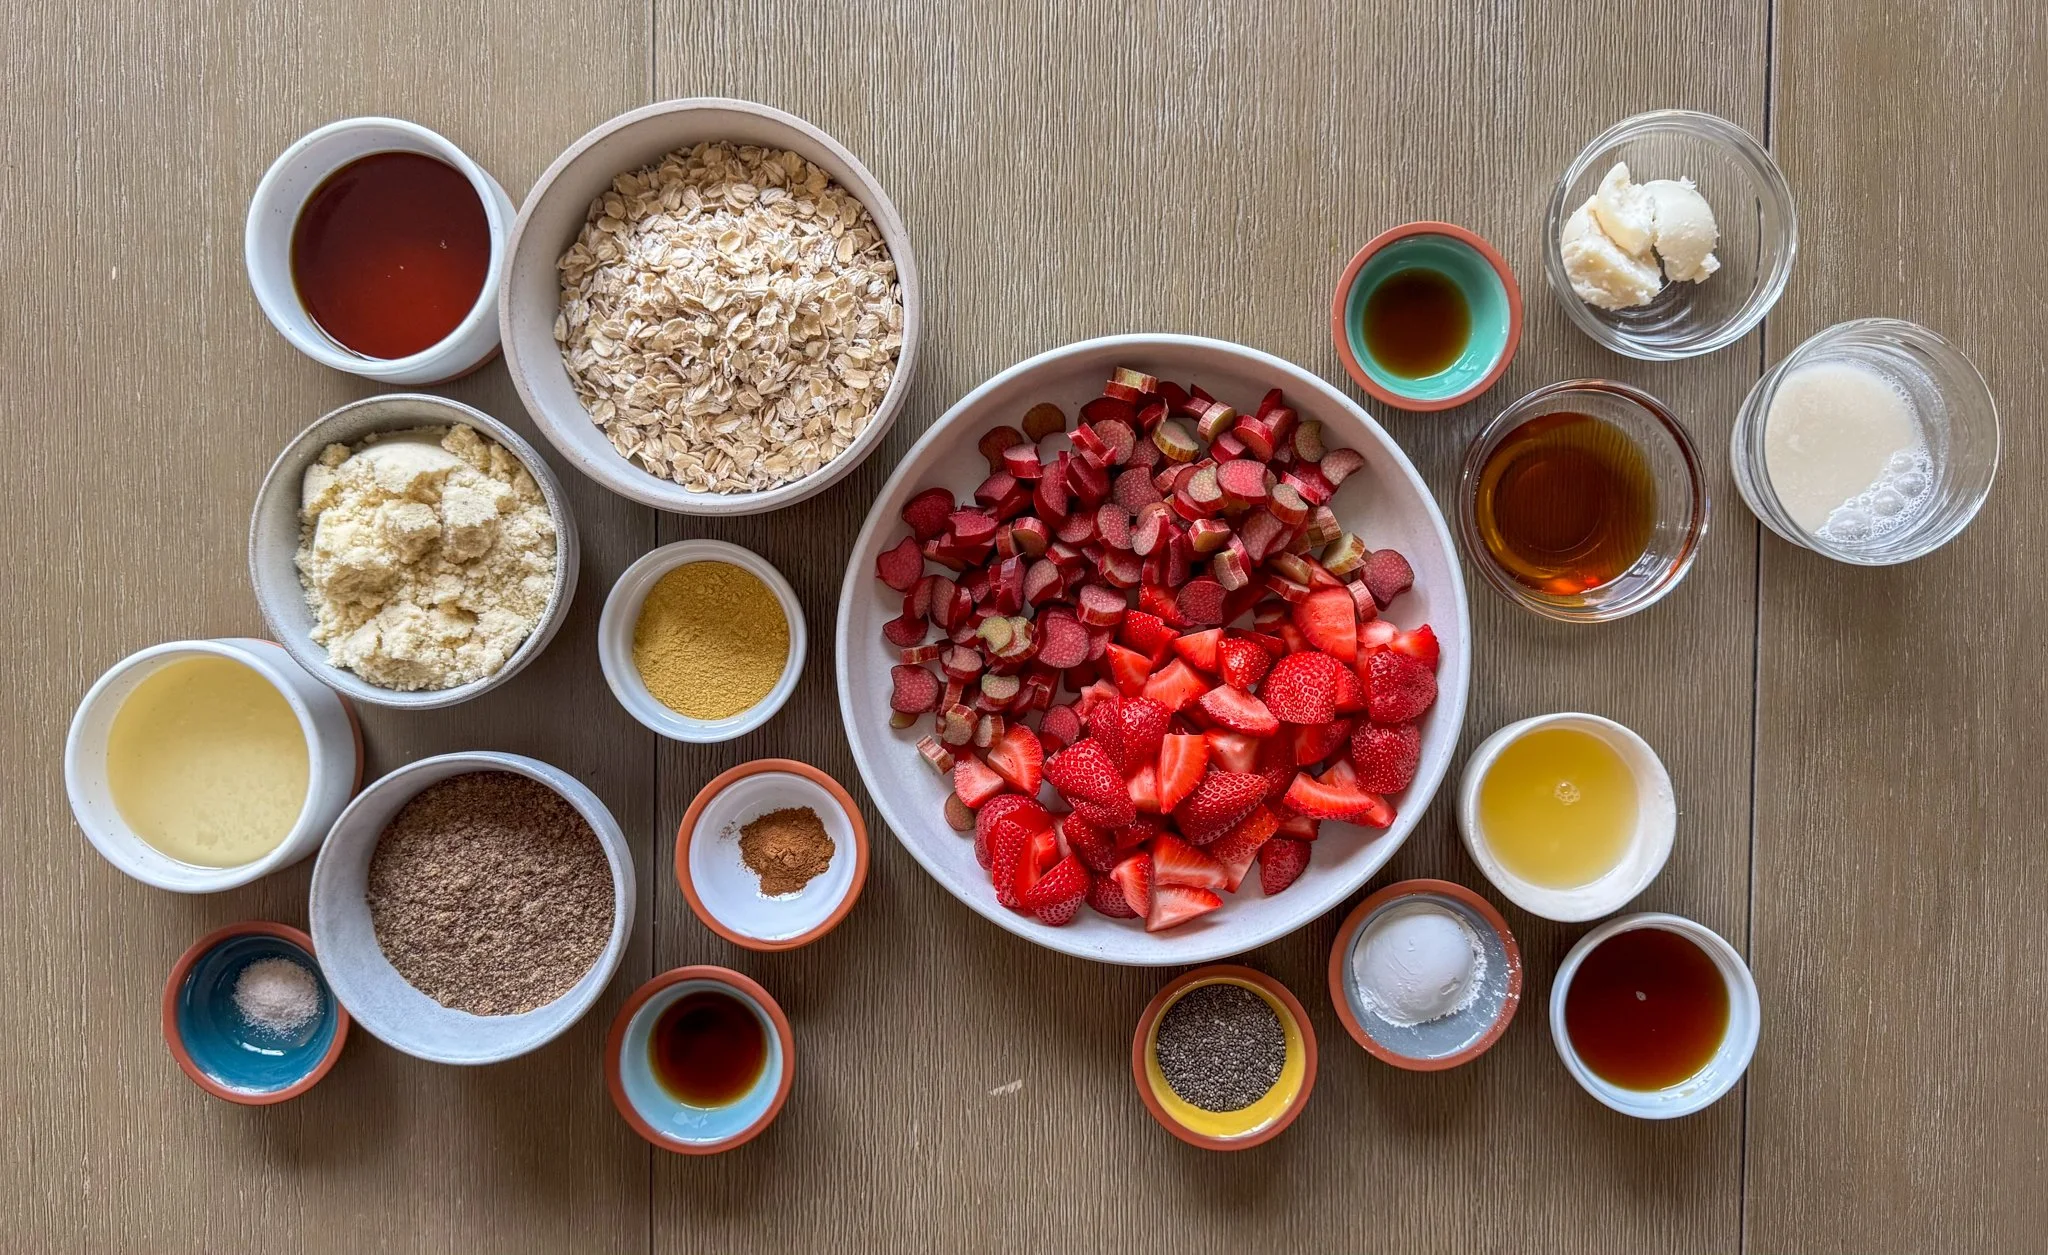
Let’s start with the base of the bars: oats. Oats are often touted for their lactation benefits, and they’re also a great source of fiber. As a new mom, you might appreciate anything that helps keep you full while you’re running on little sleep. The addition of almond flour and ground flaxseed brings in extra nutrients. Flaxseed, in particular, is beneficial due to its omega-3 fatty acids, which can be great for both you and your baby.
Next up is the brewer’s yeast. It might sound a bit odd, but this ingredient is known for its lactation-boosting properties. It’s rich in B vitamins and protein, which can be helpful during those exhausting days of nursing. Combine it with melted coconut oil and maple syrup, and you’ve got a crust and crumble topping that’s both nutritious and tasty. You’ll be pressing this mixture into your baking pan, and it’s hard to ignore the enticing smell that fills the kitchen.
Now, let’s move on to the filling. The combination of strawberries and rhubarb creates a nice balance of sweet and tart. Strawberries provide vitamin C, which is always a plus for your immune system during the postpartum period. Rhubarb adds a nice tang that complements the sweetness of the strawberries. Cooking them together with a bit of lemon juice and maple syrup not only enhances the flavor but also makes a filling that’s satisfying and nutritious. Don’t forget the chia seeds—they add fiber and omega-3s as well.
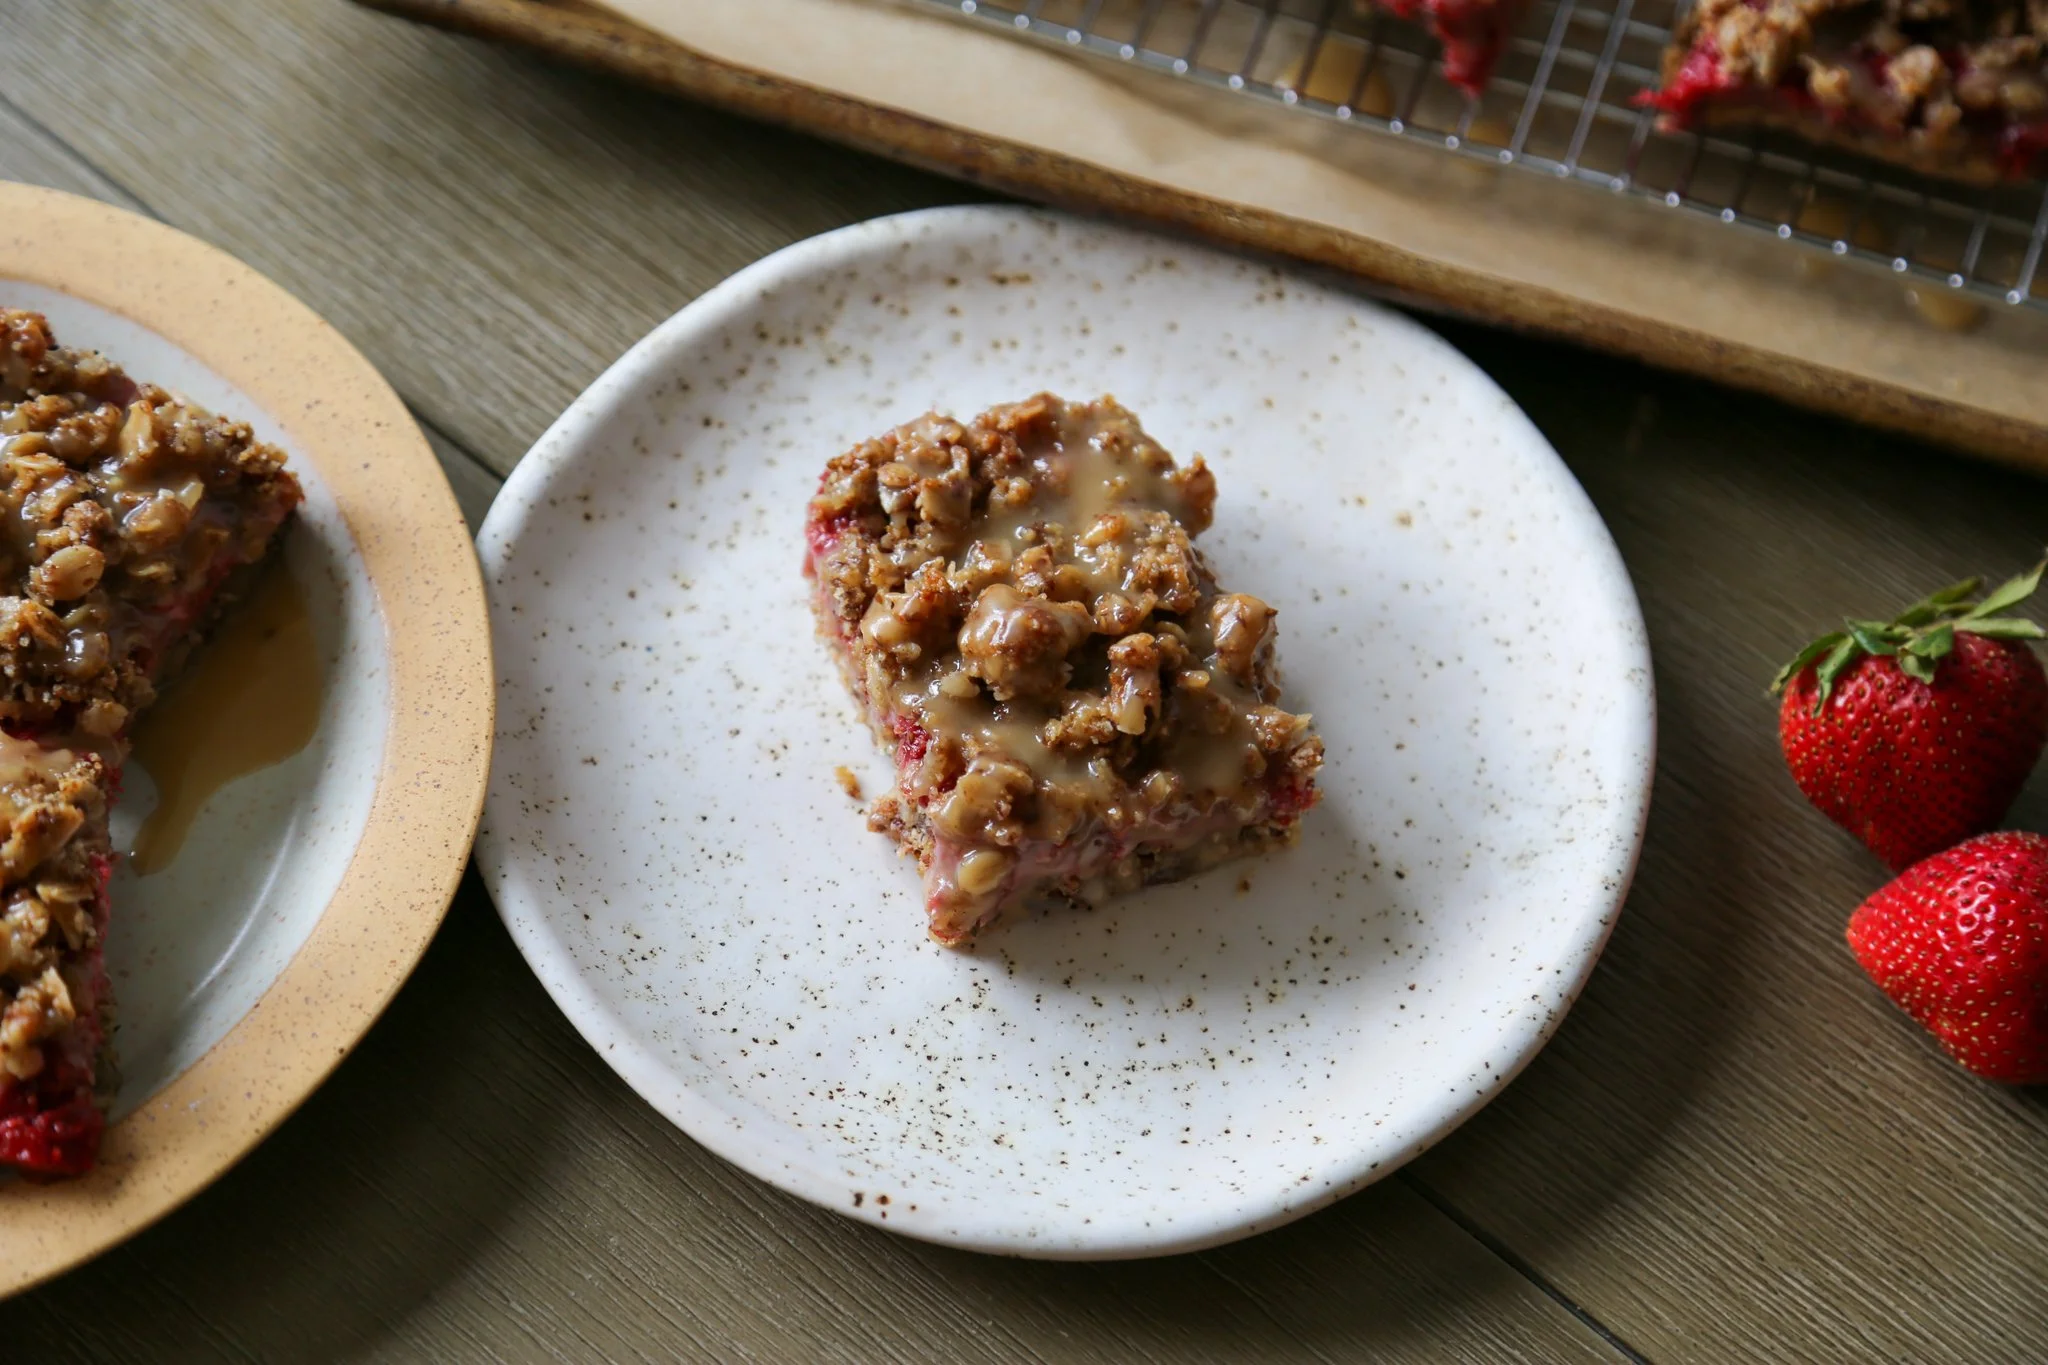
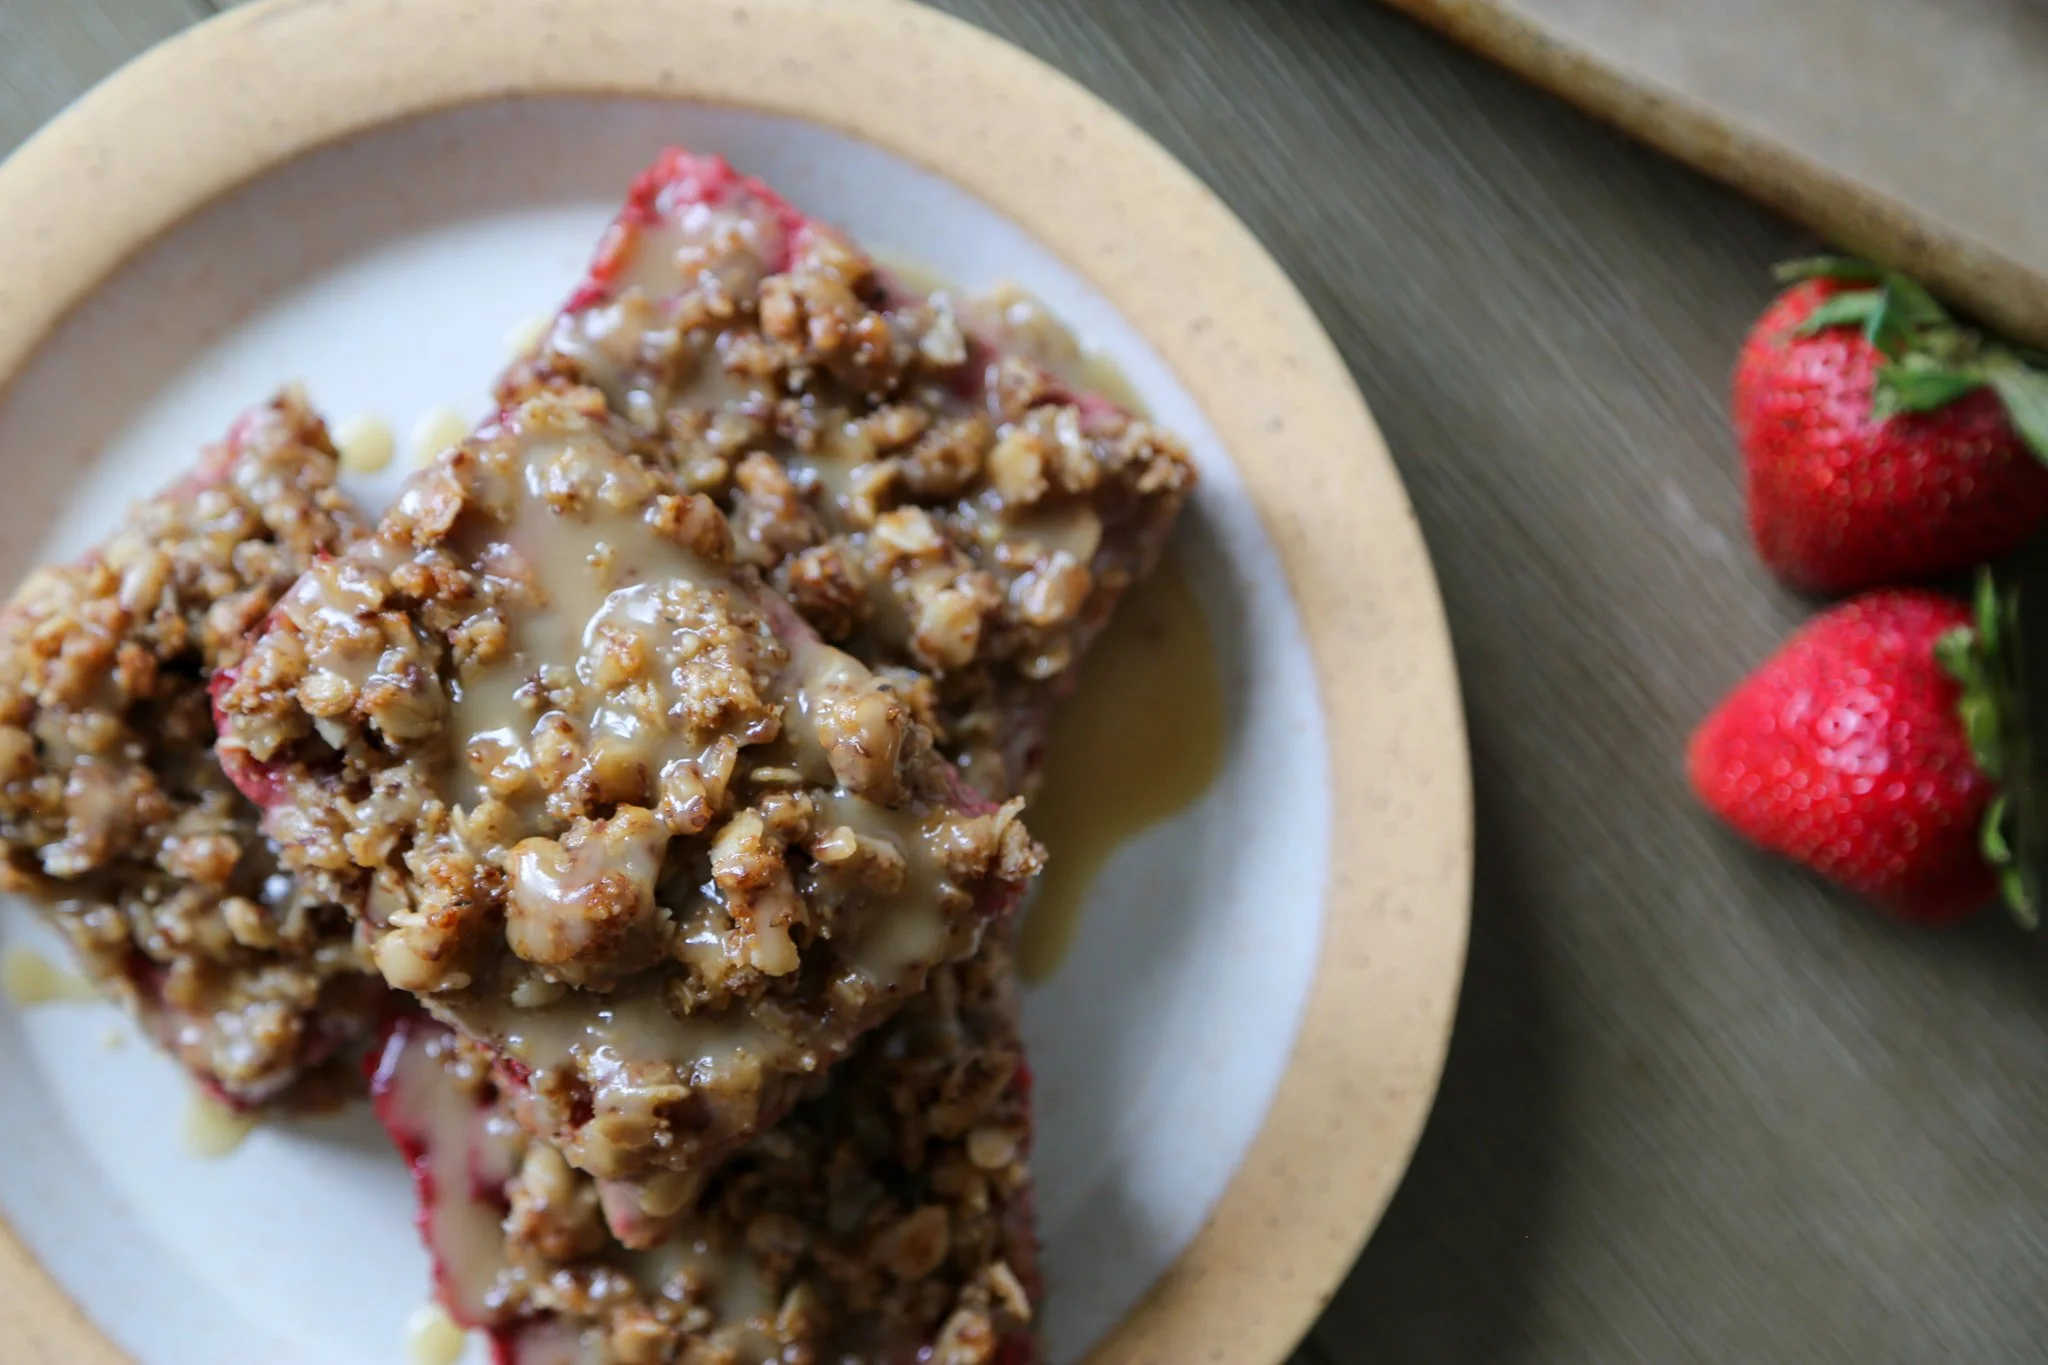
After baking the bars, you’ll want to drizzle on the coconut vanilla glaze. This step is optional, but it can elevate the bars quite a bit. Mix together some warm coconut butter with maple syrup and non-dairy milk for a simple glaze that adds a touch of creaminess. It’s an easy way to make your bars feel a bit more special without much extra effort.
As a first-time mom, it’s easy to feel the pressure when it comes to milk production. These lactation bars serve as a reminder that you’re doing your best, even on days when you feel completely drained. So, take a moment for yourself, enjoy a bar, and remember that every mother’s journey is different.
Give these Strawberry Rhubarb Lactation Bars a try. They’re straightforward to prepare and can be a helpful addition to your breastfeeding routine. And who knows? If you find yourself with a bit more milk than expected, you might just have the makings of a new side hustle. But for now, focus on enjoying your baking and taking care of yourself.

Strawberry Rhubarb Lactation Bars
Makes: 9 Bars
Prep time: 15 minutes
Cook time: 45 minuntes
Total time: 60 minutes
Ingredients:
Oat Crust and Crumble Topping:
1 1/2 cups old-fashioned rolled oats
1 cup almond flour
1/2 cup ground flaxseed
2 tablespoons brewer’s yeast
1/2 teaspoon ground cinnamon
1/4 teaspoon salt
1/2 cup coconut oil, melted
1/3 cup maple syrup
1 teaspoon vanilla extract
Strawberry Rhubarb Filling:
1 1/2 cups chopped fresh rhubarb (about 1/2-inch pieces)
1 1/2 cups chopped strawberries (fresh or frozen)
2 tablespoons lemon juice
2-4 tablespoons maple syrup (adjust to taste)
1 tablespoon chia seeds
1 tablespoon arrowroot starch
Coconut Vanilla Glaze
2 tablespoons coconut butter
1-2 tablespoons maple syrup (adjust to taste)
2-3 tablespoons non-dairy milk
1/2 teaspoon vanilla extract
Pinch of salt
Directions:
Preheat & Prep
Preheat your oven to 350°F. Line an 8x8-inch baking pan with parchment paper for easy removal.
Make the Crust and Topping
In a large bowl, combine the oats, almond flour, flaxseed, brewer’s yeast, cinnamon, and salt.
Add the melted coconut oil, maple syrup, and vanilla extract. Mix until the mixture resembles damp sand and holds together when pressed.
Press 2/3 of the mixture firmly into the prepared pan to form the crust. Set aside the remaining 1/3 for the crumble topping.
Make the Filling
In a saucepan over medium heat, combine the rhubarb, strawberries, lemon juice, and maple syrup.
Cook for 8-10 minutes, stirring occasionally, until the fruit is soft and breaking down.
Stir in the chia seeds and arrowroot starch, and simmer for another 2-3 minutes until slightly thickened. Cool for 5 minutes.
Assemble & Bake
Prout the strawberry rhubarb filling over the crust and spread evenly.
Sprinkle the reserved oat mixture on top to create the crumble.
Bake for 30-35 minutes, or until the top is golden and fruit is bubbling at the edges.
Make the Glaze
Warm the coconut butter. If it is solid, gently warm it in a bowl over a pot of hot water, or in the microwave in 10-second intervals, until it is soft and stirrable.
Add the maple syrup, vanilla, and sea salt. Stir to combine.
Gradually add in the non-dairy milk until the glaze is smooth and pourable. Adjust the thickness to your liking.
Cool & Serve
Let cool for 10-15 minutes in the pan before removing and cooling the remainder of the way on.a rack.
Drizzle with glaze using a spoon or a piping bag.
Serve immediately or store in the fridge for up to 5 days.

Enjoy!